First steps
Use this page when you are starting with a Bitlogika product for the first time.
Choose the product
| Product | Use it when you need |
|---|---|
| NopBridge | nopCommerce import, export, mapping, scheduling, and AI-assisted data workflows |
| eDocify | Document processing and enterprise document workflows |
Before you begin
Make sure you have:
- A Bitlogika product license or trial access
- Access to the target application, such as nopCommerce admin
- The product package or download link
- Permission to install plugins or configure integrations
Typical setup flow
- Download the product package from Bitlogika.
- Install the product in the target application.
- Activate the license.
- Configure the required connection settings.
- Run a small test before using the product with real production data.
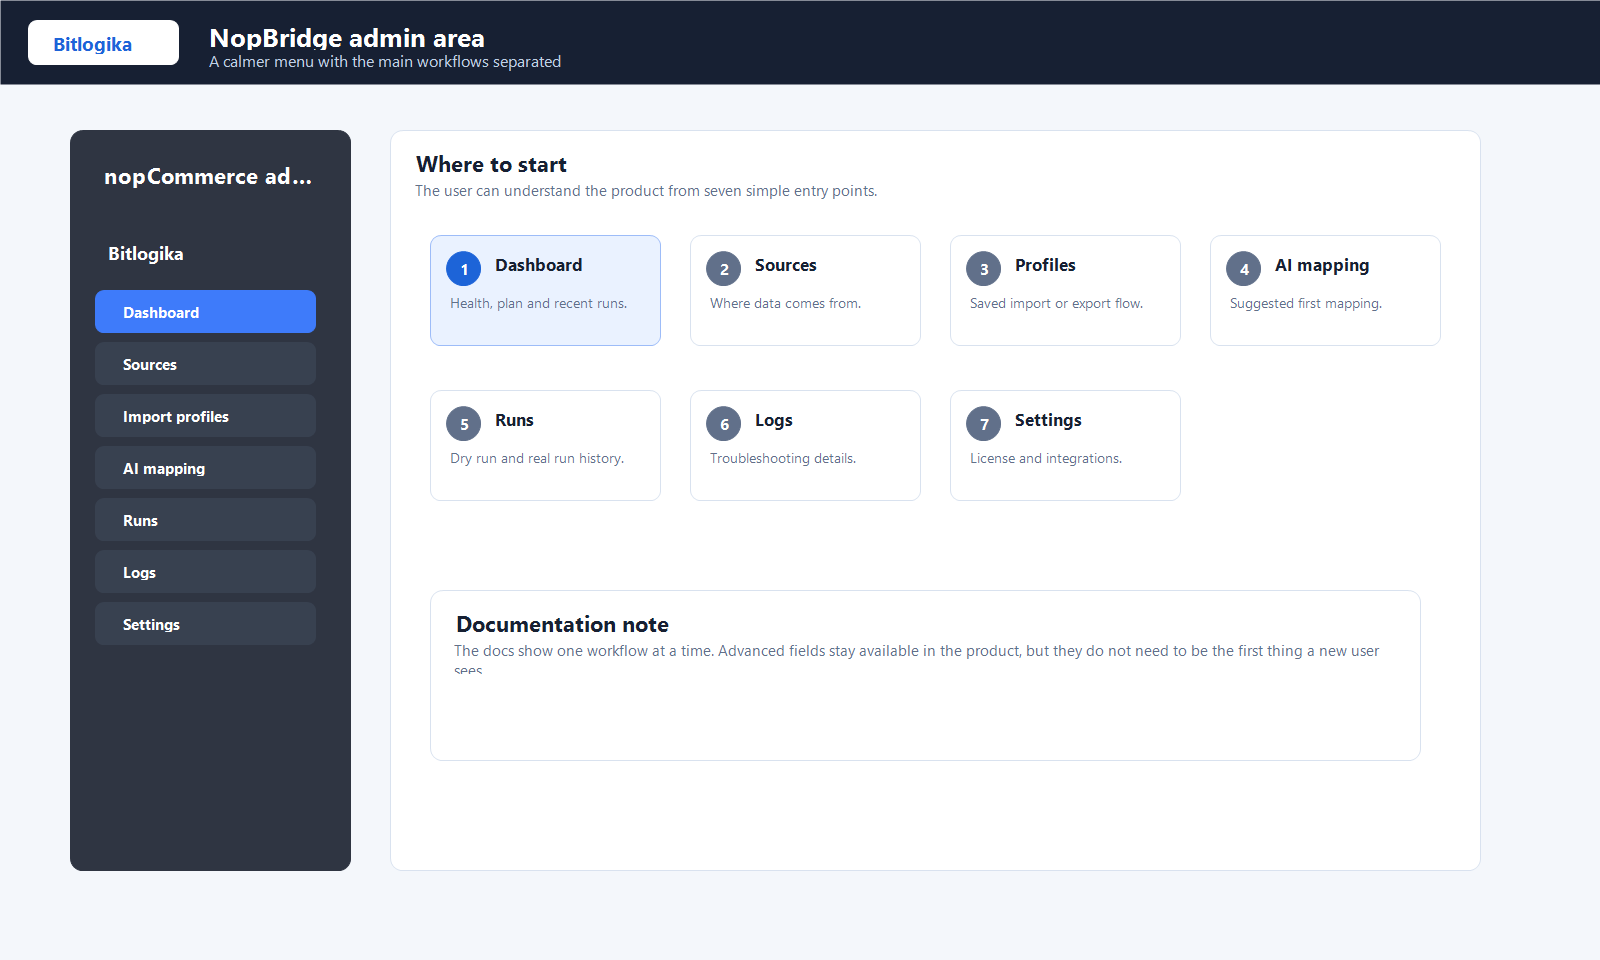
Recommended first NopBridge path
- Install the NopBridge plugin.
- Activate or validate the license.
- Open the dashboard.
- Create a source.
- Review the typed source schema.
- Generate or build the mapping.
- Run dry run.
- Run real import.
- Open imported products in nopCommerce.
- Repeat the import to confirm duplicate update behavior.
Need help?
If setup does not work as expected, open the troubleshooting section and collect the error message, product version, and the exact step where the issue happened.