Install NopBridge
This guide describes how to install NopBridge in a nopCommerce store and confirm that it is ready for the first import.
Requirements
Before installation, confirm:
- You have access to nopCommerce admin.
- You can install or update plugins.
- You have the NopBridge plugin package.
- The server can restart the nopCommerce application.
- The server can reach the Bitlogika API for license validation.
Step 1: Upload or copy the plugin
- Sign in to nopCommerce admin.
- Open the plugin upload or local plugin installation area.
- Upload or copy the NopBridge plugin package.
- Restart the application if nopCommerce asks for it.
Step 2: Install the plugin
- Open the local plugins list.
- Find Bitlogika NopBridge.
- Click Install.
- Restart the application if required.
- Return to admin.
Step 3: Confirm the admin menu
After installation, the NopBridge menu should be visible under Bitlogika.
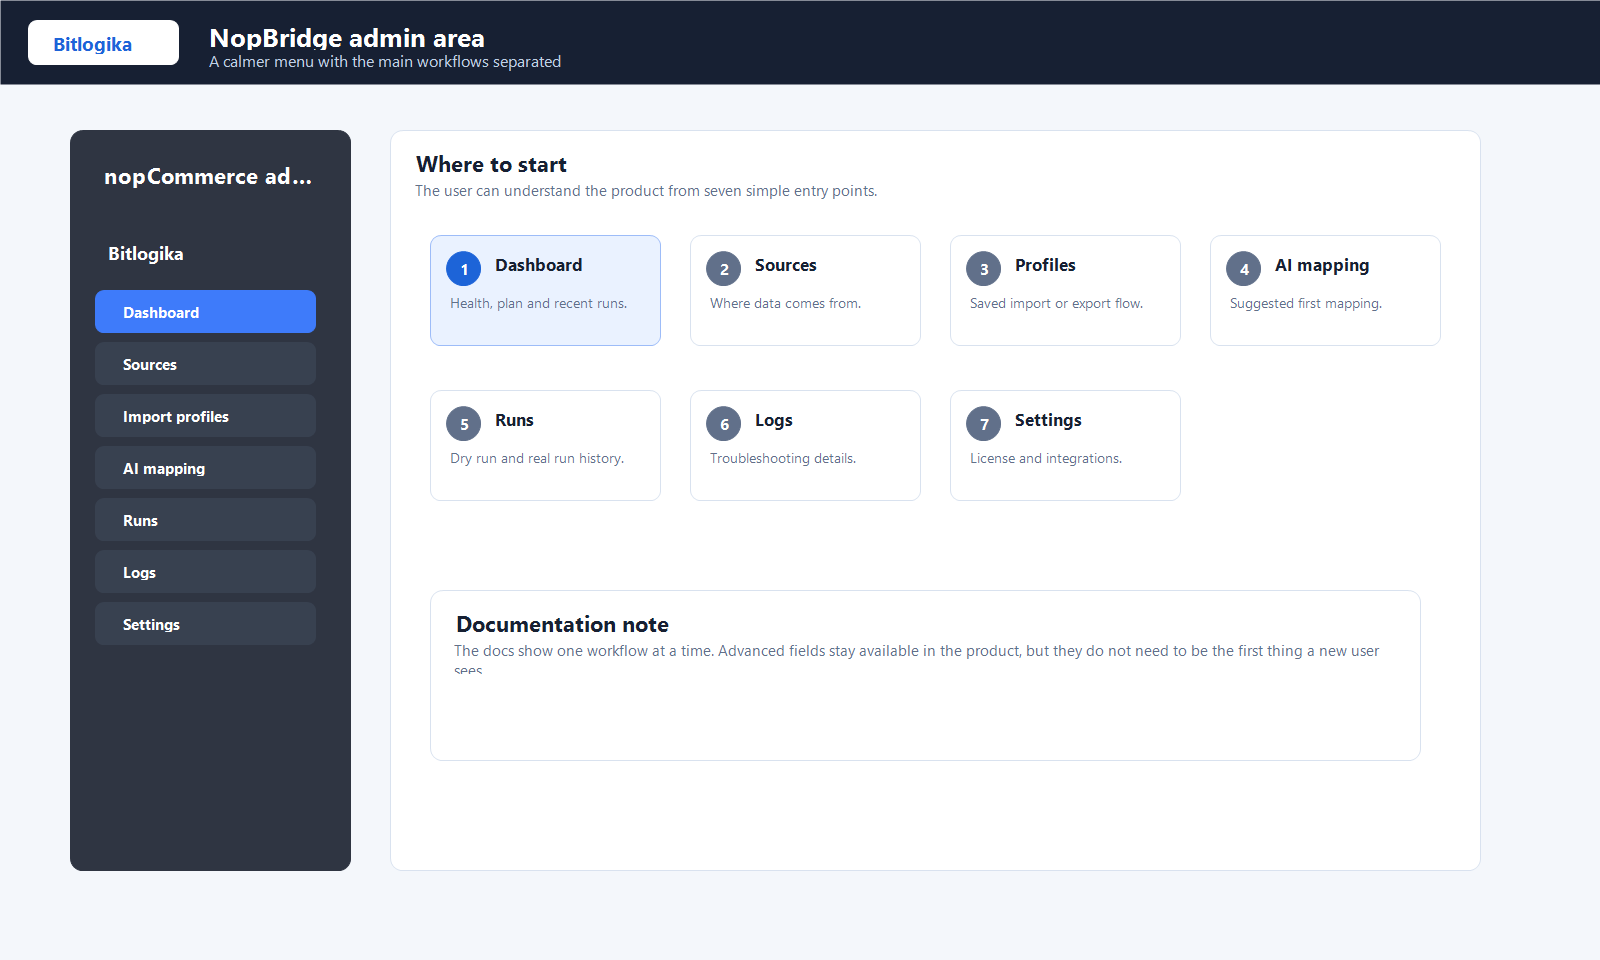
Expected menu structure:
- Bitlogika
- NopBridge
- Dashboard
- Sources
- Import profiles
- AI mapping
- Runs
- Logs
- Settings
Step 4: Open settings
- Open Bitlogika > NopBridge > Settings.
- Check license state.
- Check API and AI gateway state.
- Save settings.
- Open the dashboard again.
Step 5: Validate with a small source
Before using production data:
- Create a small file source.
- Review the detected schema.
- Create a simple product mapping.
- Run dry run.
- Run real import only after dry run looks correct.
After installation
After the plugin is installed, confirm that the NopBridge menu is visible in the admin area and continue with license activation.